How to Create an App Store Provisioning Profile
To distribute an iOS app with TestFlight, you need to create a Provisioning Profile for App Store distribution.
This page explains how to generate an App Store Distribution Provisioning Profile using an Apple Developer Program account.
Before creating a Provisioning Profile, you must first generate a distribution certificate and create an App ID for your iOS app. If you haven't done this yet, please go back to the TestFlight distribution menu and complete those steps first.
To generate an App Store Distribution Provisioning Profile, you must be enrolled in the paid Apple Developer Program. For details, see About the Apple Developer Program.
Create an App Store Distribution Provisioning Profile
Let's go through the steps to create an App Store Distribution Provisioning Profile.
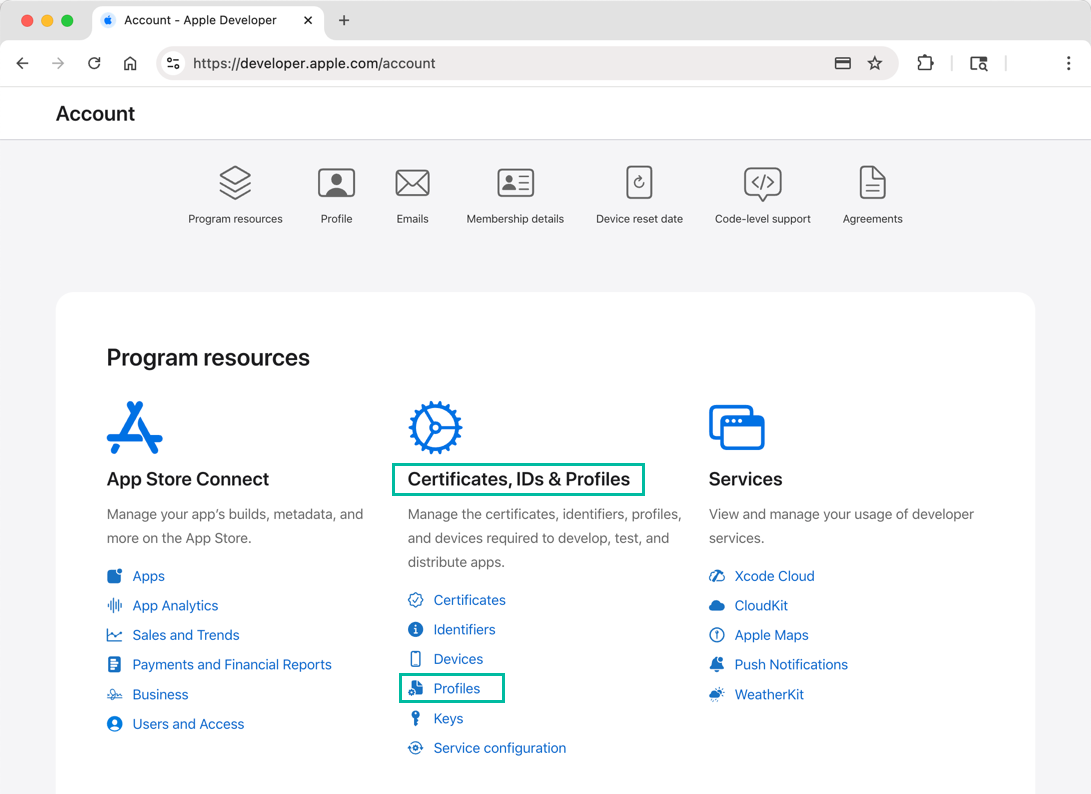
Log in to the Apple Developer site and click [Profiles] in the [Certificates, IDs & Profiles] section.
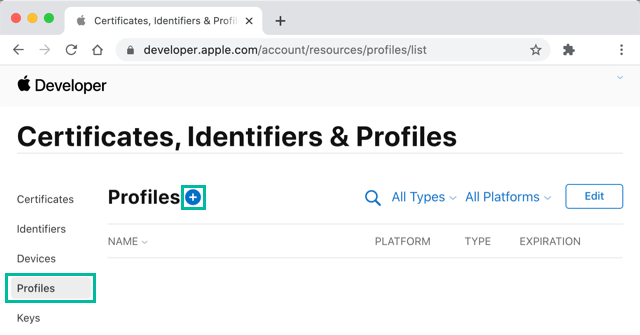
On the [Profiles] page, click the + button.
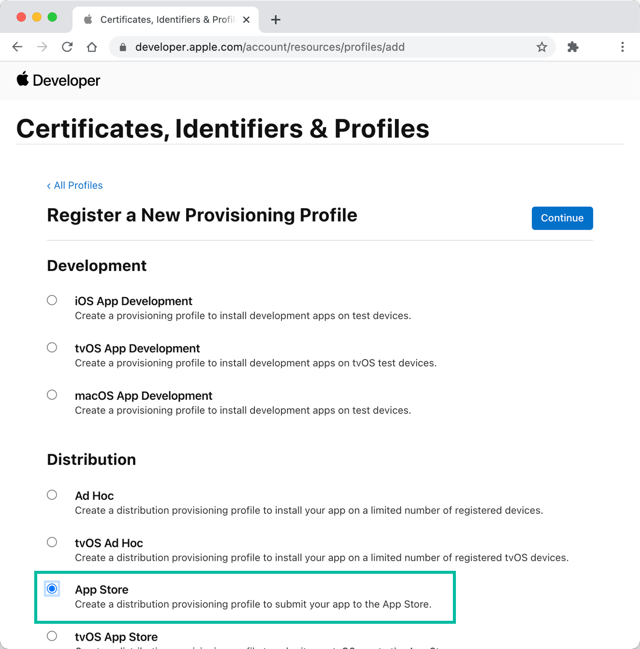
On the Register a New Provisioning Profile page, select App Store under Distribution, and then click [Continue].
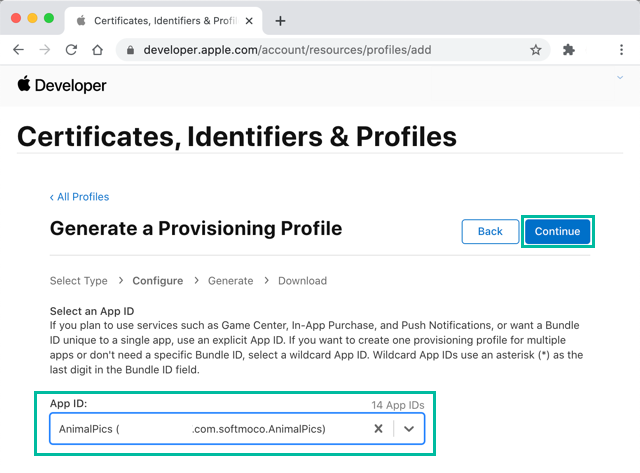
On the Select an App ID page, choose the App ID for the iOS app you want to distribute, then click [Continue].
On the Select Certificates page, select the App Store distribution certificate you previously created, and click [Continue].

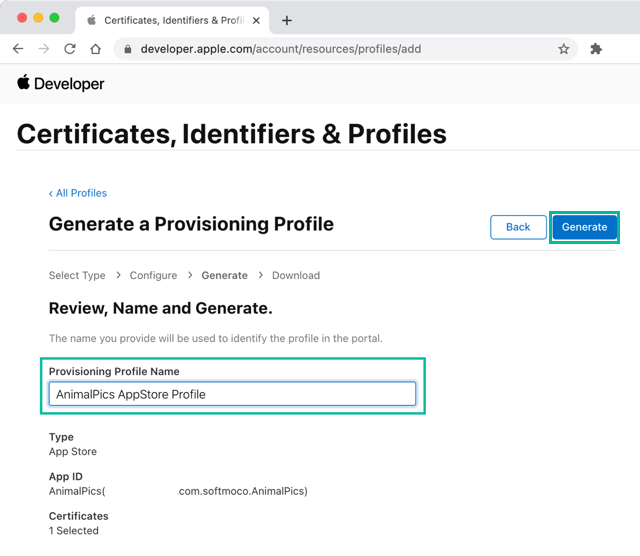
Enter a preferred Provisioning Profile Name, then click [Generate].
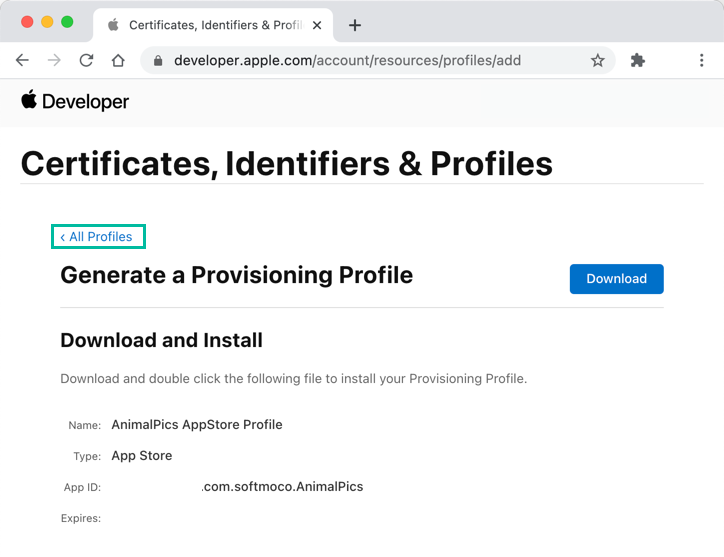
A download screen will appear, but since Xcode will download the profile automatically, you don't need to download it manually here. Click [All Profiles] to finish.
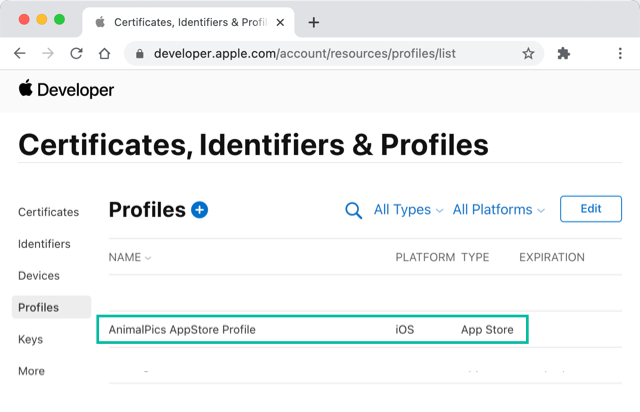
Your App Store Distribution Provisioning Profile has now been created.
That's it. You have successfully created an App Store Distribution Provisioning Profile with your Apple Developer Program account.